

It's easy to overlook the components that mount your solar panels during the shopping process. But you shouldn't. Racking systems play a direct role in how long your array lasts and how well it performs.
This guide covers how solar racking systems work, what they're made of, and what your options are. You'll also learn what to think through when designing your solar technology setup.
PowerOutage.us monitors outages across 96% of the U.S., tracking hundreds of utilities, millions of customers, and every major storm event since 2016. The right racking system keeps your panels stable, your roof intact, and your solar array generating power through outages.
What is a solar racking system?
A solar racking system supports solar panels by securing them to a roof or the ground. The frame is usually aluminum or steel. It holds panels at the right angle for sunlight and handles weather. Strong mounts and adjustable brackets keep the array stable and maximize energy capture. The DC power your panels produce flows to a solar inverter, which converts it to the AC electricity your home uses.
Types of solar mounting systems for different site conditions
There are a few core mounting approaches:
- Rail-based mounting system: Metal rails hold mounting hardware that clamps panels into position. They work well on flat roofs, keeping panels in a uniform row at a consistent angle.
- Rail-less mounting system: Hardware connects directly to the mounting surface. No rails. On flat roofs, the hardware holds panels at the intended angle without the extra structure.
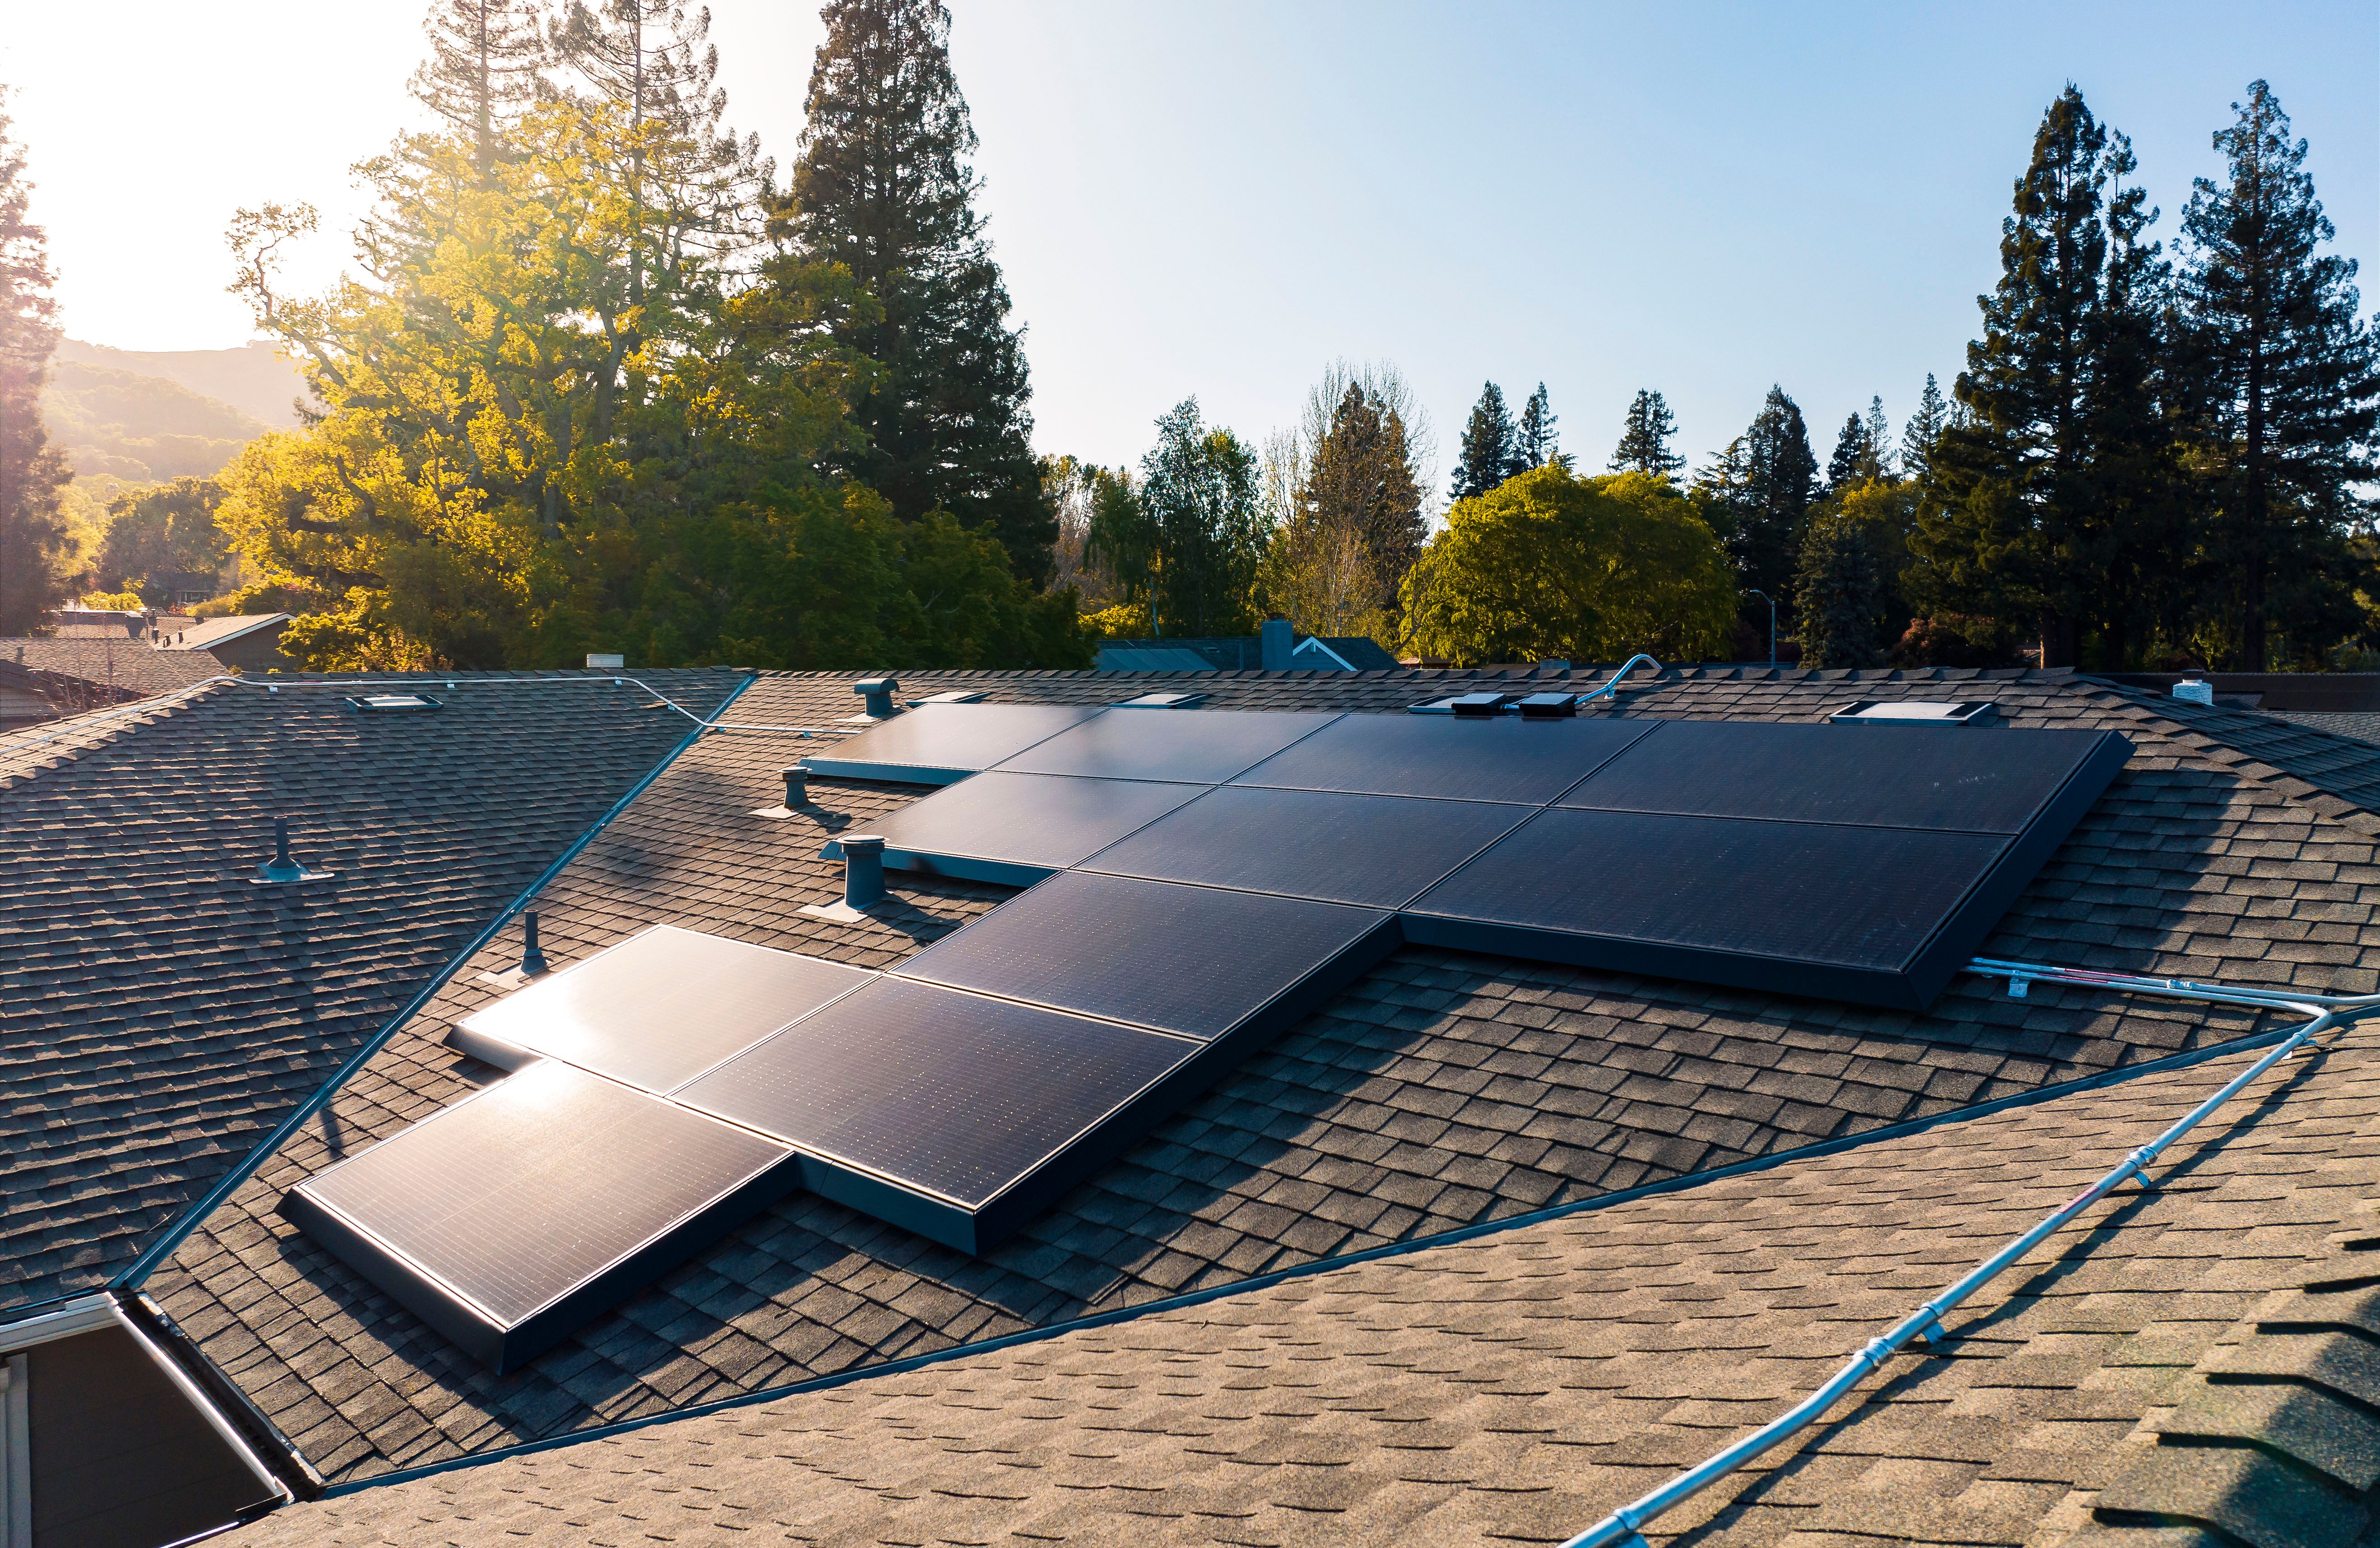
- Flush roof mounting system: Panels mount directly to the roof at the same pitch as the roof surface. It's a low-profile look and typically requires less hardware than rail systems.
Core components of a racking system for solar panels
The specific components vary by system, but most racking systems share these essentials:
- Flashing: Installing a racking system means drilling into the roof surface. Flashing is a metal layer that seals each drill site and keeps water out of your home.
- Mounts: Mounts attach the racking system to the roof. They're sometimes called feet. They bolt through the flashing and into the rafters.
- Rails: Rail-based systems use long metal rails that attach to the mounts. Solar panel frames then mount onto these rails in a uniform layout.
- Clamps: In rail-based systems, clamps attach the panel frames to the rails.
Tracking options to improve efficiency
Most racking systems are fixed. They hold panels in a single position at all times. Tracking systems rotate panels to follow the sun, which increases sunlight exposure and energy output. That's especially useful in off-grid solar energy setups and hybrid solar systems that pair solar with battery storage.
Tracking systems cost more than fixed systems but can produce meaningful energy gains from monocrystalline and polycrystalline panels. Off-grid and hybrid systems also use a solar charge controller to regulate battery charging from the panels. Two tracker types are available:
- Single-axis trackers: Rotate panels east to west along the horizontal axis. These boost energy output by 15% to 25% over fixed-tilt systems, per NLR research.
- Dual-axis trackers: Rotate panels on both the horizontal and vertical axes. That increases sunlight exposure to photovoltaic cells throughout the day and across seasons. They produce greater gains in solar panel efficiency than single-axis trackers but cost more.
Tracker control algorithms also affect output. NLR analysis found that optimized control adds 0.1% to 1.0% in annual energy gains depending on location and light conditions, per a 2022 study.
Structural engineering factors in solar panel racking
A few technical factors affect the safety and performance of your racking system:
- Load bearing: The racking system has to support the weight of your panels and hold up against wind, snow, and seismic loads. Systems are rated to comply with local building codes and site conditions. NLR and Sandia National Laboratories research found that panel frame adhesive and edge tape materials are the primary drivers of module deflection under load. That means panel material quality directly affects how well the racking holds up under stress, per a 2020 structural analysis.
- Roof integrity: Improper mounting can damage your roof. Flashing seals bolt penetrations to prevent leaks. Ballasts can also hold assemblies in place without piercing the roof membrane.
- Tilt and orientation: The racking system sets your panels at the best angle and direction for your location. Optimal tilt depends on latitude and season. In the Northern Hemisphere, south-facing panels get the best exposure.
Installation stages of a solar racking kit
Every residential racking installation follows the same general stages, regardless of which kit you use.
This information is for research purposes only. We strongly advise you to leave the racking installation to a professional.
1. Site preparation
Clear your roof or installation site of debris. Inspect the whole area and remove anything that shouldn't be there.
2. Measuring and marking
Measure the dimensions of your racking system on your roof to confirm fit. Mark the rafter locations where you'll install the mounts.
3. Pre-drilling
Pre-drilling pilot holes in the rafters keeps the wood from splitting when you drive the mounting bolts. Use a flashing panel as a template to mark the drill sites.
4. Installing flashing
Install flashing panels at each mounting site to prevent water intrusion. Confirm the holes in the flashing align with your pilot holes before securing the panels to the roof.
5. Installing mounts
Drive the mounting bolt through the foot of each mount, through the flashing, and into the rafter.
6. Installing rails (if needed)
If your system uses rails, install them after the mounts are secured. Rail-based systems include specialized mounts that accept the rails.
7. Inspection
Inspect the racking system before mounting any panels. Check every mounting site for gaps or holes that could let water in. Confirm that all mounts and rails are fastened securely with all hardware tightened.
Solar racking details
Here's a detailed table with different types of solar racking components and configurations:
| Term or component | What it is | Usage context |
|---|---|---|
| Fixed-tilt racking | Stationary mounting system with panels set at a fixed angle | Simple, cost-effective |
| Adjustable-tilt racking | Allows manual seasonal angle adjustments to optimize sun exposure | Moderate cost, increased output |
| Single-axis tracker | Motorized system that moves panels east to west throughout the day | Higher energy yield, more complex |
| Dual-axis tracker | Follows both sun elevation and azimuth for maximum exposure | Highest yield, most expensive |
| Roof-mount system | Mounts directly on residential or commercial rooftops | Space-saving, common in cities |
| Ground-mount system | Panels mounted on a structure anchored to the ground | Best for open land, easy access |
| Ballasted mount | Uses weights (not roof penetration) to hold panels in place on flat surfaces | Ideal for flat commercial roofs |
| Pole mount | Panels attached to a single or multiple poles, can be fixed or tracked | Elevated, good for uneven terrain |
| Rail-based system | Uses metal rails to align and secure panels | Standard design, strong support |
| Rail-less system | Direct-to-roof mounting system without long rails | Lightweight, faster installation |
| Tilt leg kit | Used to angle flat-mounted panels toward the sun | Small-scale optimization |
| Flashing | Waterproofing component used where mounts penetrate a roof | Leak prevention |
Bottom line on solar racking systems
Your racking system is a core part of your solar setup. Roof type, location, panel choice, and personal preferences all factor into which system fits best.
It's worth weighing the costs and benefits of tracking systems carefully. Tracking can boost energy output but adds to upfront costs. If you plan to store excess solar output, it's also worth figuring out whether solar batteries are worth it for your situation. Your racking choice directly affects how stable and efficient your array will be, so compare your options before committing.
If solar doesn't pencil out after you crunch the numbers, that's fine. Solar isn't best for all homes, climates, or energy markets.